
Settings & branding
Set up your business in Settings
Add your company details, logo, colours, and bank info. This appears on every quotation and invoice.
6 min readBeginner
What you'll learn
- Work through all five Settings tabs
- Save after each tab
- Branding applies to new PDFs immediately
1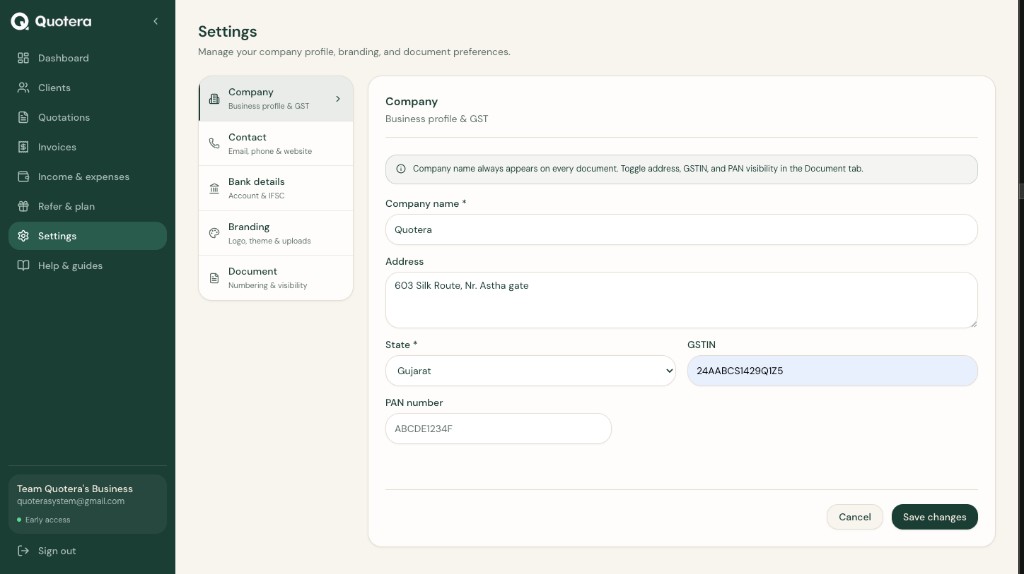
Settings with five tabs
Open Settings
Click Settings in the left menu. You will see five tabs along the side:
- Company
- Contact
- Bank details
- Branding
- Document
2
Company tab
Add your core business details:
- Business name
- GSTIN and PAN (if registered)
- Full address
- State - used for CGST+SGST vs IGST on documents
Tip: Pick the correct state. It affects tax on every quotation and invoice.
3
Contact tab
Add how clients can reach you on PDFs:
- Phone
- Website
4
Bank details tab
Optional but useful on invoices:
- Bank name
- Account number
- IFSC code
5
Branding tab - logo, colours, signature, UPI QR
Branding tab
Make documents look like your business:
- Upload your logo
- Pick document colour theme
- Add signature (invoices)
- Add UPI QR code (invoices)
6
Document tab
Control numbering and what appears on each PDF:
- Quotation prefix (e.g. QT-)
- Invoice prefix (e.g. INV-)
- Per field: None, Quote only, Invoice only, or Both
- Default notes and terms
Related guides
Common questions
When does my logo show on PDFs?
After upload in Branding and save. New documents use it in preview and PDF.
Can I show GSTIN only on quotations?
Yes. In Settings, Document tab, set GSTIN to Quote only. Each field has None, Quote, Invoice, or Both.